

Scalp Wellness · Part 2
Taking textured hair from juicy curls to a bone-straight silk press is an entire event. It’s a labour of love, an upper-body workout and, if done wrong, a fast track to heat damage and a very sad, dry scalp.
If you want a glass-finish press without sacrificing your curl pattern or your scalp’s sanity, step away from the 230°C (450°F) setting and let’s talk routine.
1. Ditch the Rough Towel
Start by gently squeezing out excess water with your hands, no violent wringing required. When it’s time to dry, put down the traditional terry-cloth bath towel. Those coarse loops snag fragile 4C/4B kinks, rough up your hair cuticles and strip the natural oils your scalp works so hard to produce.
Instead, section your hair and gently pat it down with a microfibre towel. Microfibre’s super-fine surface absorbs moisture without disrupting the cuticle or irritating your skin barrier.
2. Protect, Section & Blow Dry
Before bringing the heat, divide your hair into manageable sections.
- The Shield: Coat every strand with a lightweight barrier. We love starting with Design Essentials Step 3 Spray for a smooth foundation.
- The Dry: Turn your blow dryer up to medium-high heat. Keep light tension on each section as you work your way through to stretch out that curl pattern safely.
- The Tech: If you’re looking to splurge, the Dyson Airwrap is the absolute holy grail for regulating airflow temperature so you never accidentally scorch your roots. On a real-world budget? A high-performance BaByliss Dryer packs all the power you need for a fraction of the cost.
3. The Root Reality Check
Pause before you reach for the flat iron! Run your fingers right against your scalp and roots. Are they 100% dry? If there’s even a hint of dampness, keep drying. Flat-ironing wet roots literally boils the water inside the hair shaft and traps moisture near the scalp, creating the perfect breeding ground for irritation.
Root check
Bone-dry roots before any flat iron. If in doubt, give them another pass with the dryer.
4. The Main Event: Silk Press & Scalp Care
Re-section your hair into small, precise strips.
- Double Down on Protection: Smooth a few drops of Design Essentials Step 4 Agave Thermal Protectant through your hair, from mid-lengths to ends.
- Smooth It Out: Take single, steady passes. The infused plates on the Remington Wide Shine Therapy Flat Iron keep things silky with minimal drag.
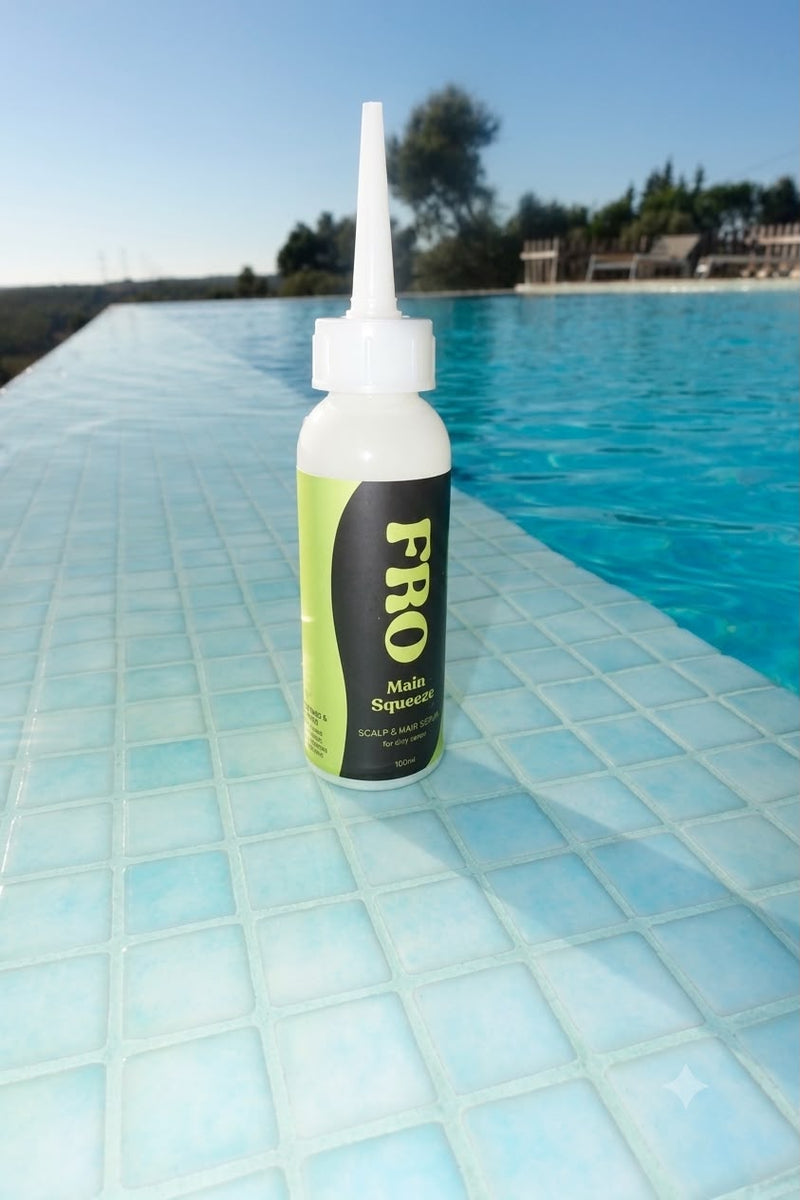
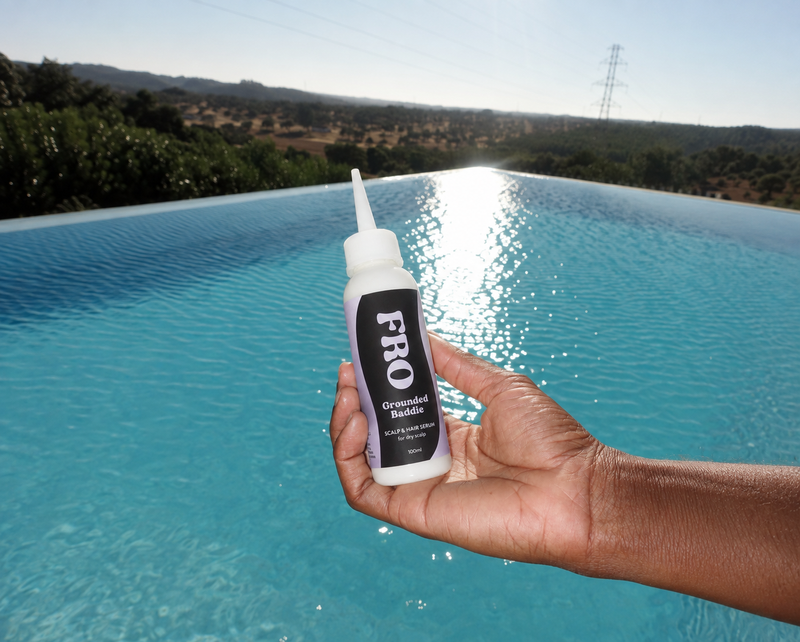
- Feed the Scalp (Before & After): Your scalp does its best work when it’s prepped, not mid-press. Massage FRO Scalp Serum into your roots as a pre-wash treatment before you start, then once your press is finished and fully cooled, dab a few drops onto your scalp only.
Shop the serum
5. Edges Need Special Love
Don’t try to force a wide flat iron right up against your hairline! Grab a hot comb or a mini straightener to get right down to the roots around your temples and nape for a seamless melt.
6. Protect the Investment (While You Sleep)
A silk press is only as good as your bedtime routine.
- The Wrap: Wrap your hair smoothly around your head in a circular motion and secure it with a snug silk scarf.
- The Bedding: Don’t let cotton sheets steal your shine. Upgrade your nightly setup with a pure mulberry silk pillowcase. Our top picks are Slip or Blissy. Silk reduces friction, helps hair hold on to moisture and means you wake up with movement instead of frizz.
Part 2 of the FRO Scalp Wellness series. Catch up on the rest in the Scalp Wellness hub.
Disclaimer: This guide is intended for educational purposes. If you are experiencing persistent, severe, or painful scalp irritation, please consult a qualified healthcare professional or dermatologist for personalised medical advice.